


![]()
![]()
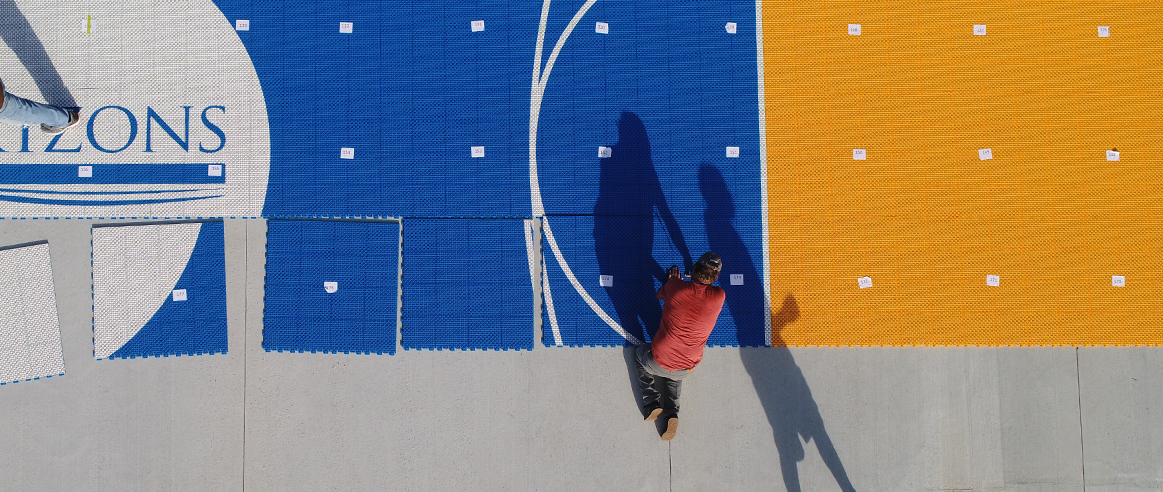
Interlocking Garage Floor Tiles
Courts which are smaller in size (typically 30’x30’ or less) and see a lot of activity may be susceptible to shifting. It is generally more noticeable on basketball courts. The tiles tend to shift towards the goal, which is caused by continuously running and stopping toward the goal.
Position the court tiles on the concrete slab so that the court is properly located with respect to the goal and the edges of the court. You will only anchor ONE SIDE of your court (the side OPPOSITE the basketball goal).
Using a hammer drill, drill a hole within the center (or middle) locking tab, every other tile along only ONE side of you court (side opposite the basketball goal). Transition ramps will cover these screws.
NOTE: Do not secure additional sides of your court without first checking with VersaCourt. We can advise best for your particular application.
Install the Tapcon anchoring screws. Make sure not to over tighten the screws.
Install ramps or other tiles.