


![]()
![]()
Interlocking Garage Floor Tiles
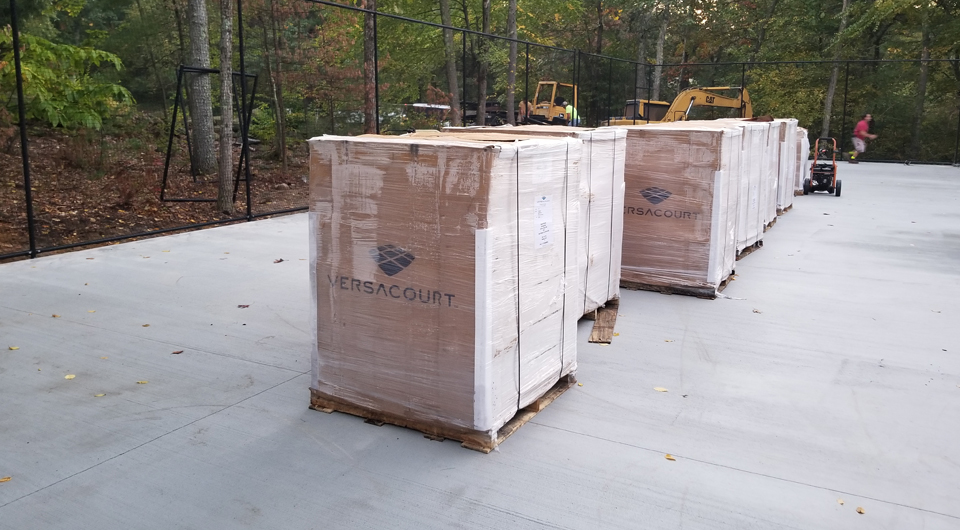
All courts are fully assembled, painted, numbered, disassembled and packed in a way to make the court assembly process as easy as possible. We call this the VersaCourt Difference and it is one of the things that makes us so unique.
Review your packing slip and verify all materials are included and have not incurred any damage during shipping.
Review your custom, numbered court layout document found in your VersaCourt Installation Packet.
Confirm your base is ready for court tile installation and relocate your pallets to the install site.
Unpack your tile pallets, remove and discard the plastic and cardboard wraps.
We recommend that you watch our 15 minute installation video before beginning your project. This video thoroughly illustrates all steps outlined in this instruction manual.
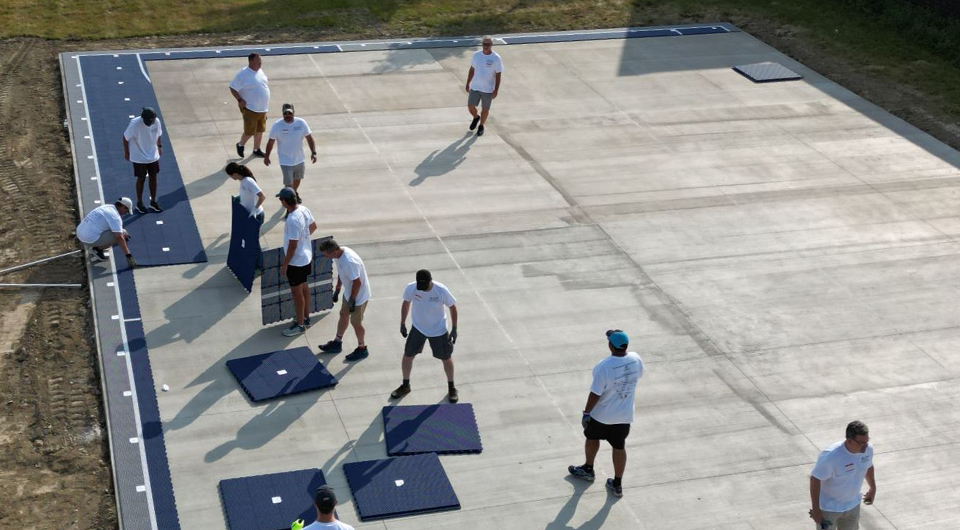
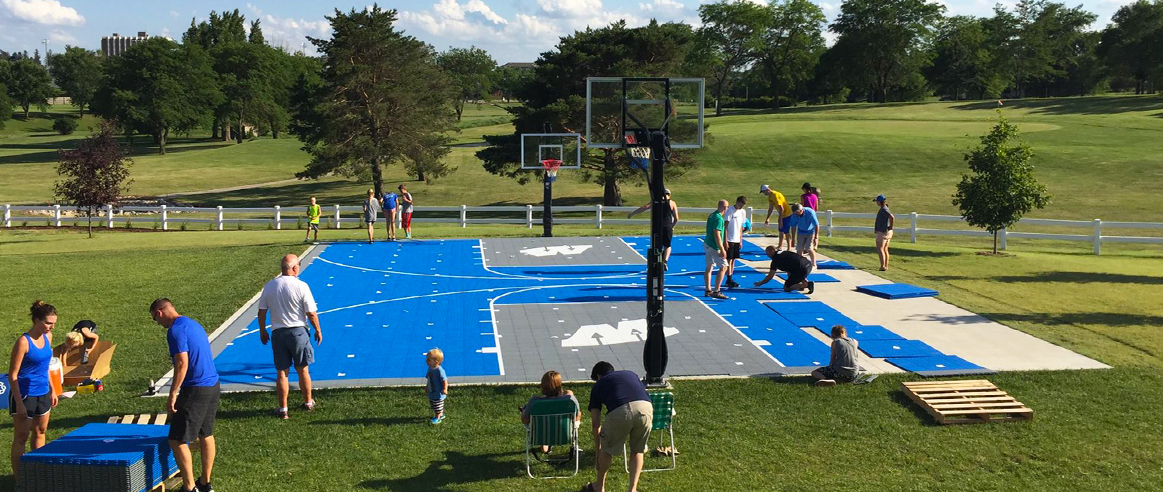
The easiest way to install VersaCourt tile is to start in one corner with the hook end of the tiles facing to the right and down; or in other words pointing towards the corner. Locate Panel #1 on your diagram and find panel #1 of your tile and simply lay into the tile into place.
Locate Panel #2 and lay into place, continuing in numerical order moving across your diagram until all panels are in place.
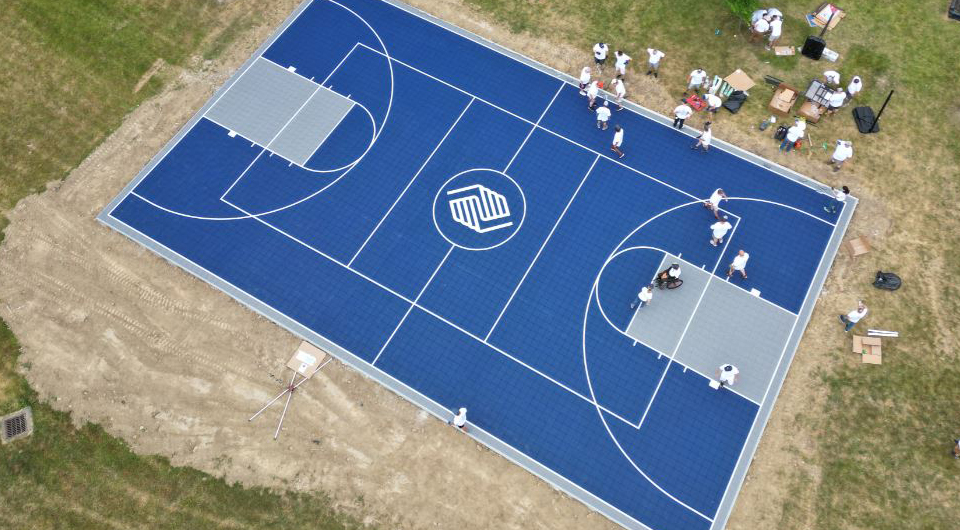
Step back and visually inspect to ensure your sections are in their proper place. Make sure the basketball lane lines up with your goal, as well with any tennis lines, logos and other lines matching your diagram, etc.
Lock your tiles together. Starting with #1 and move across your court in the same order you laid the tiles down. By gently stepping on the seams, starting at one corner, the hook ends are pressed into the receiver end for a strong hold.
DO NOT USE FORCE! THIS WILL CAUSE DAMAGE TO THE VERSACOURT TILES.
FOR COURTS 30’ X 30’ AND SMALLER ONLY. Secure one edge of your basketball court. Learn more about Anchoring Tile to Subsurface.
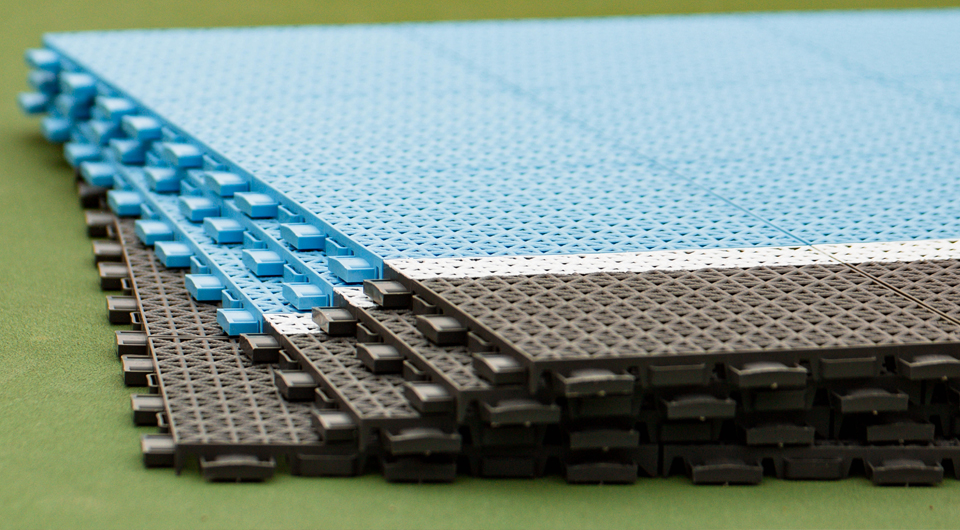
Install your ramps and corner pieces. You will have 2 types of ramps, a hook and a receiver, and 4 corner pieces.
Remove all the numbered stickers and enjoy your new VersaCourt!